Creating Picture Boards
Add Pictures
Before you can create boards with pictures, you will first have to upload some pictures to the Media section. Click the Media option from the menu of the left, then Pictures.
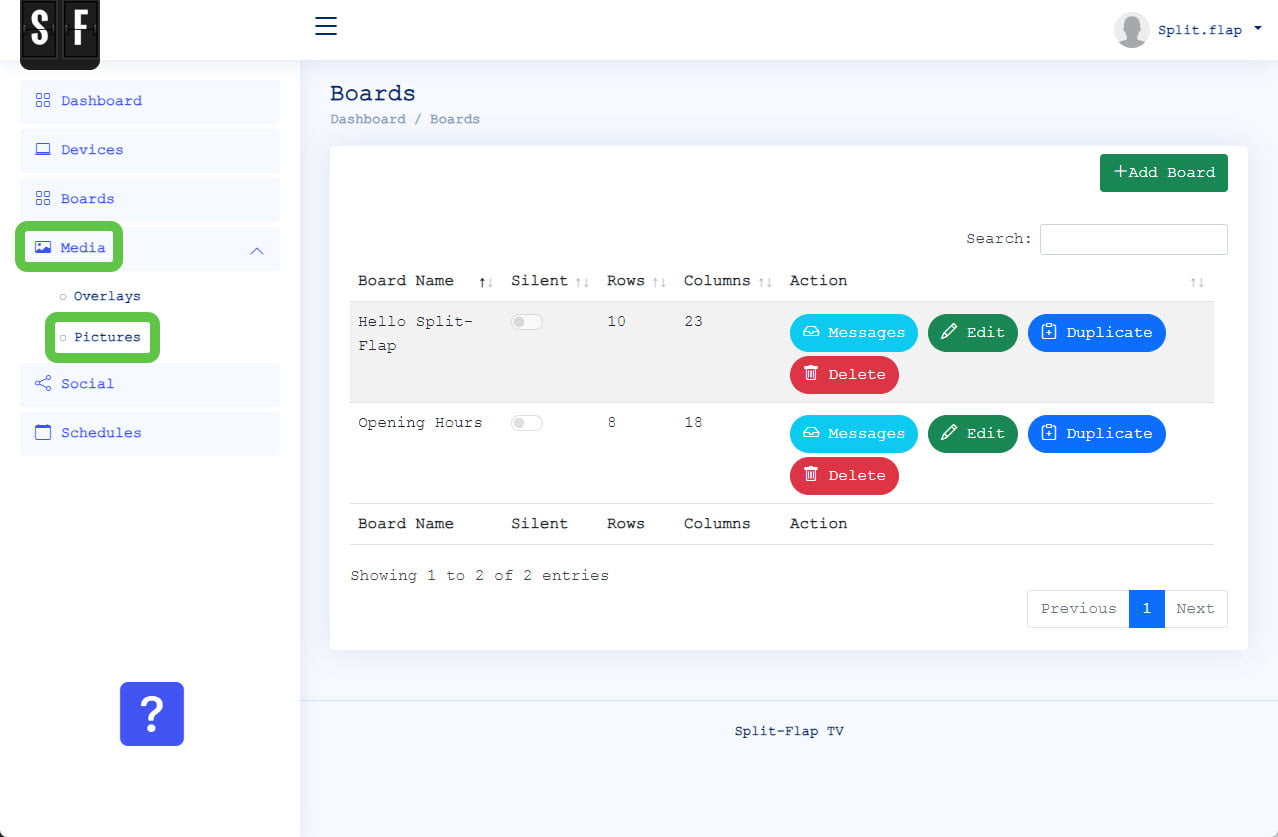
Click the Add button to add pictures to your Split-Flap account.
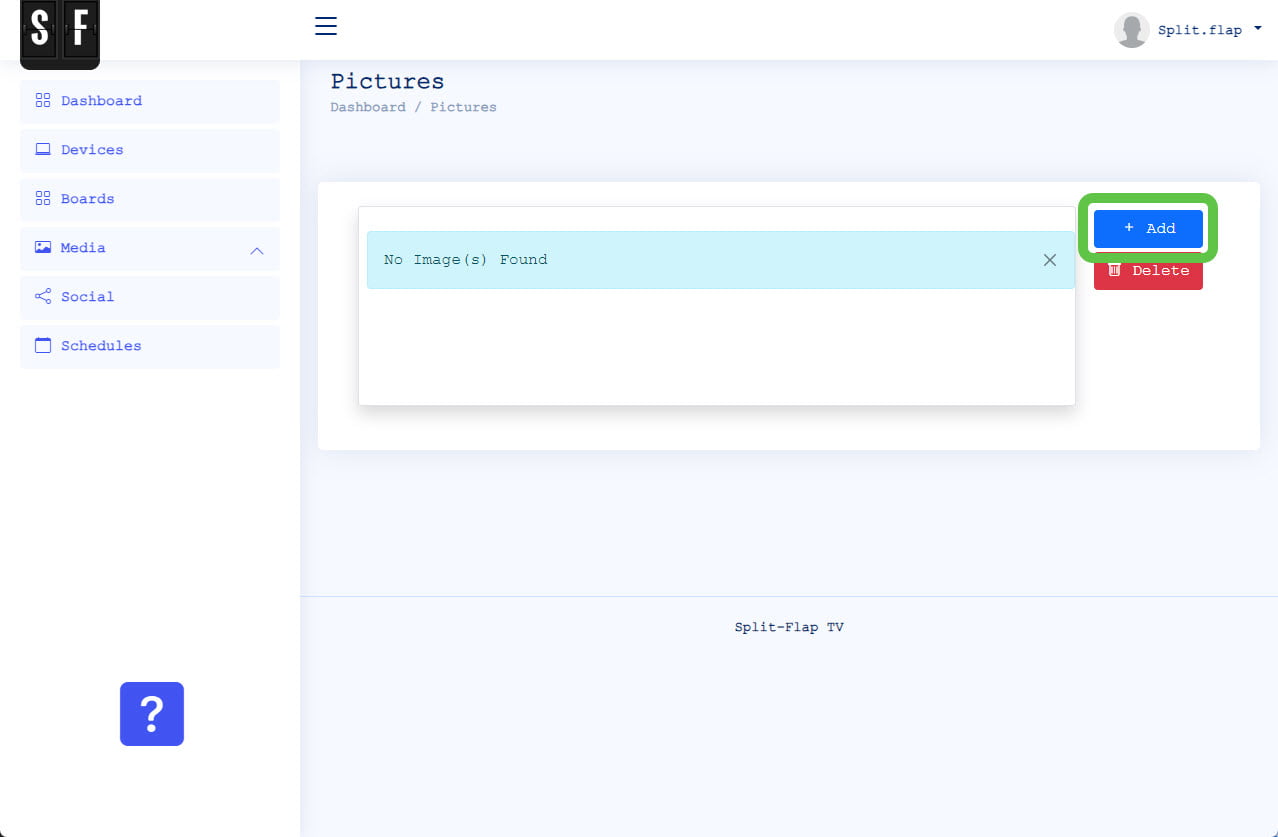
Click the Choose Files and browse to the folder that contains the pictures that you want to upload.
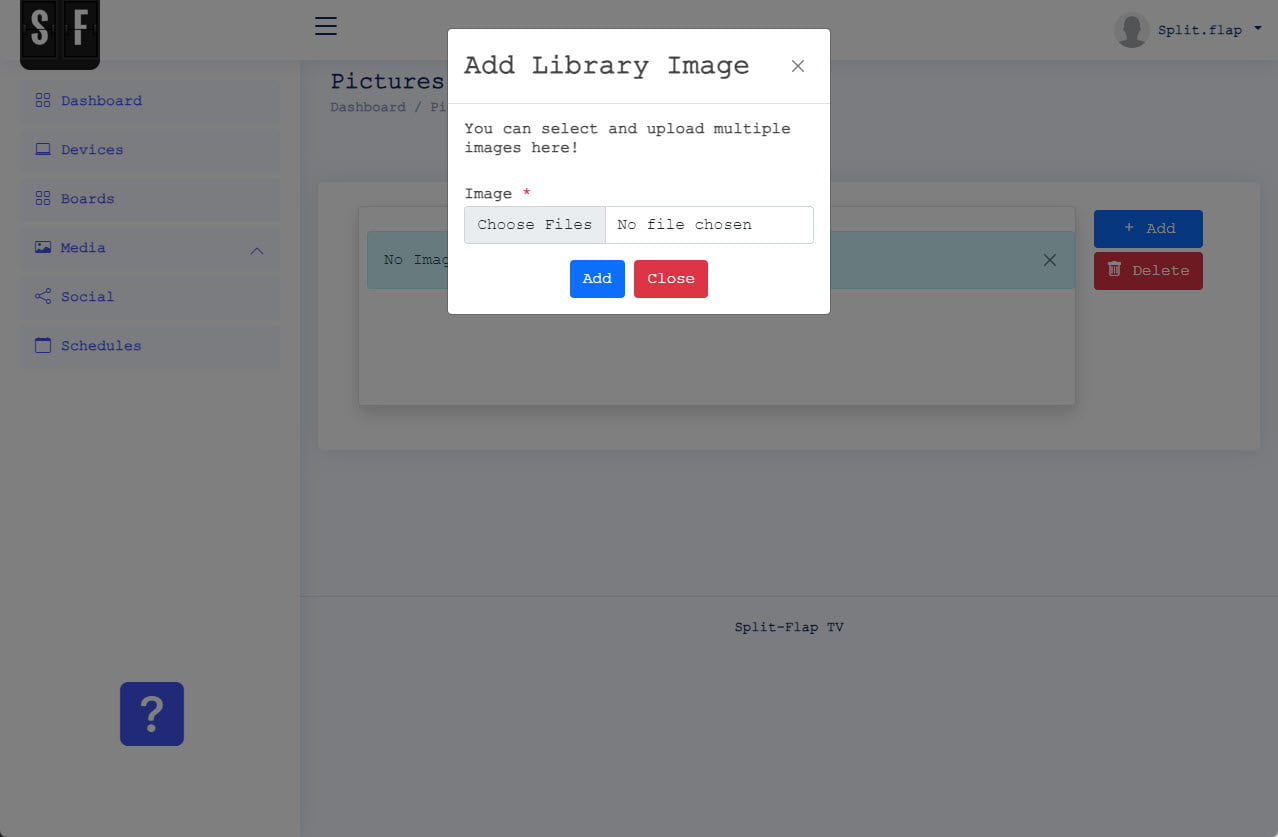
You can select multiple files here when you want to. Otherwise just select one picture.
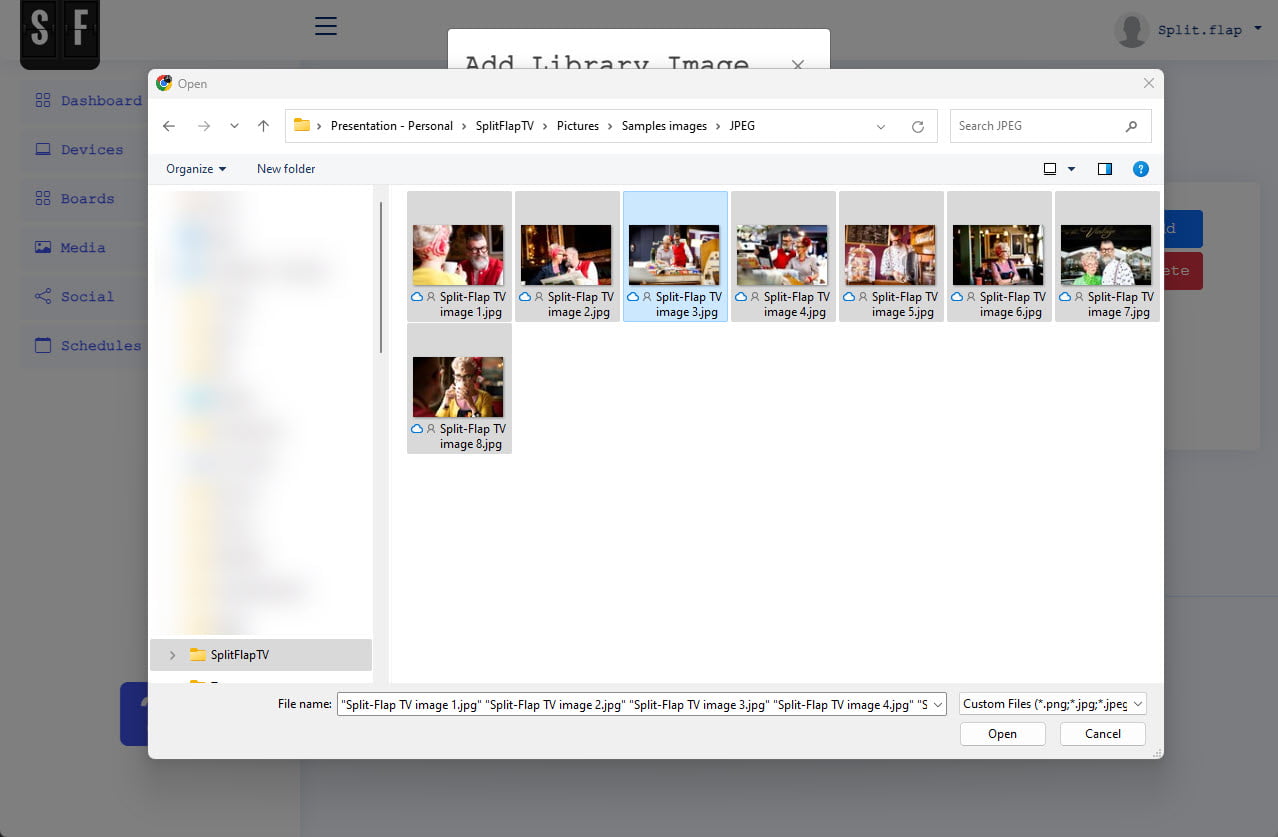
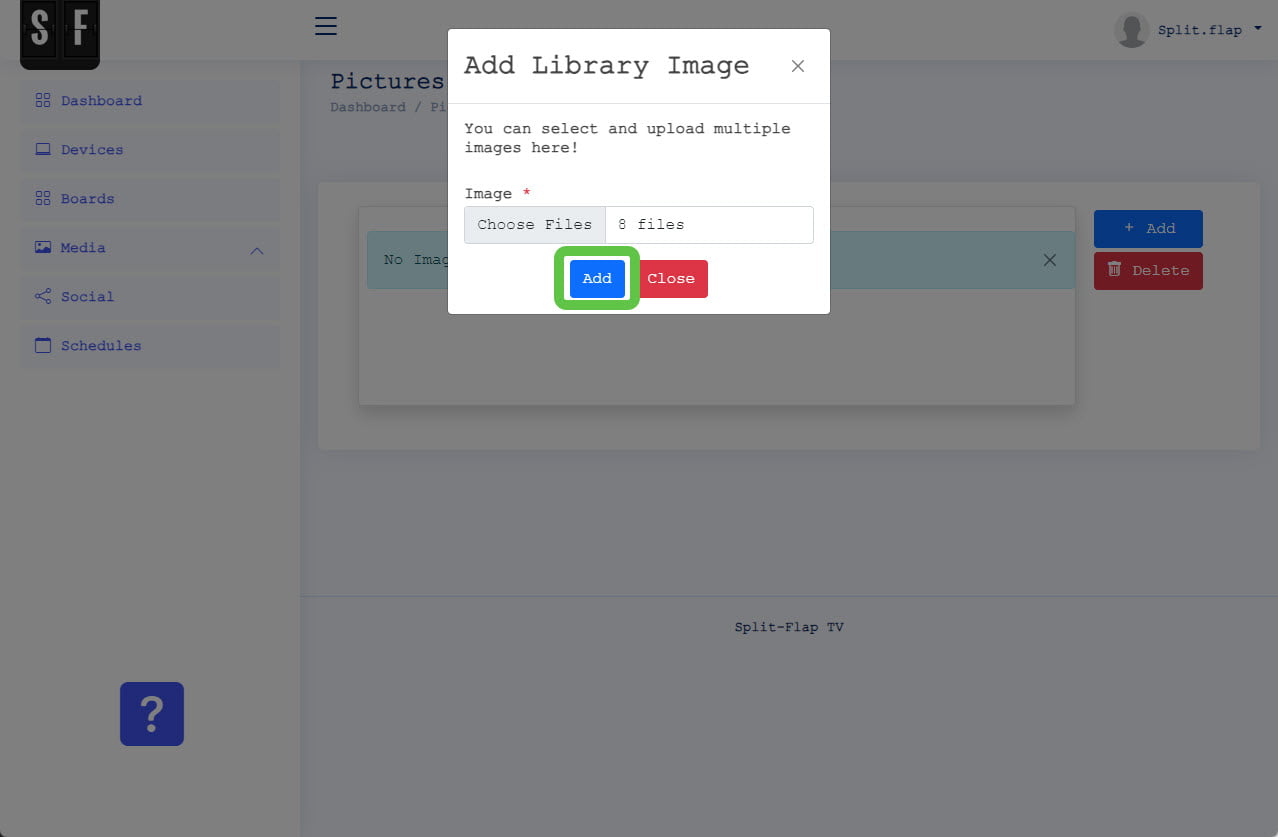
We have selected 8 images from this folder. Now click the Add button to start the upload process.
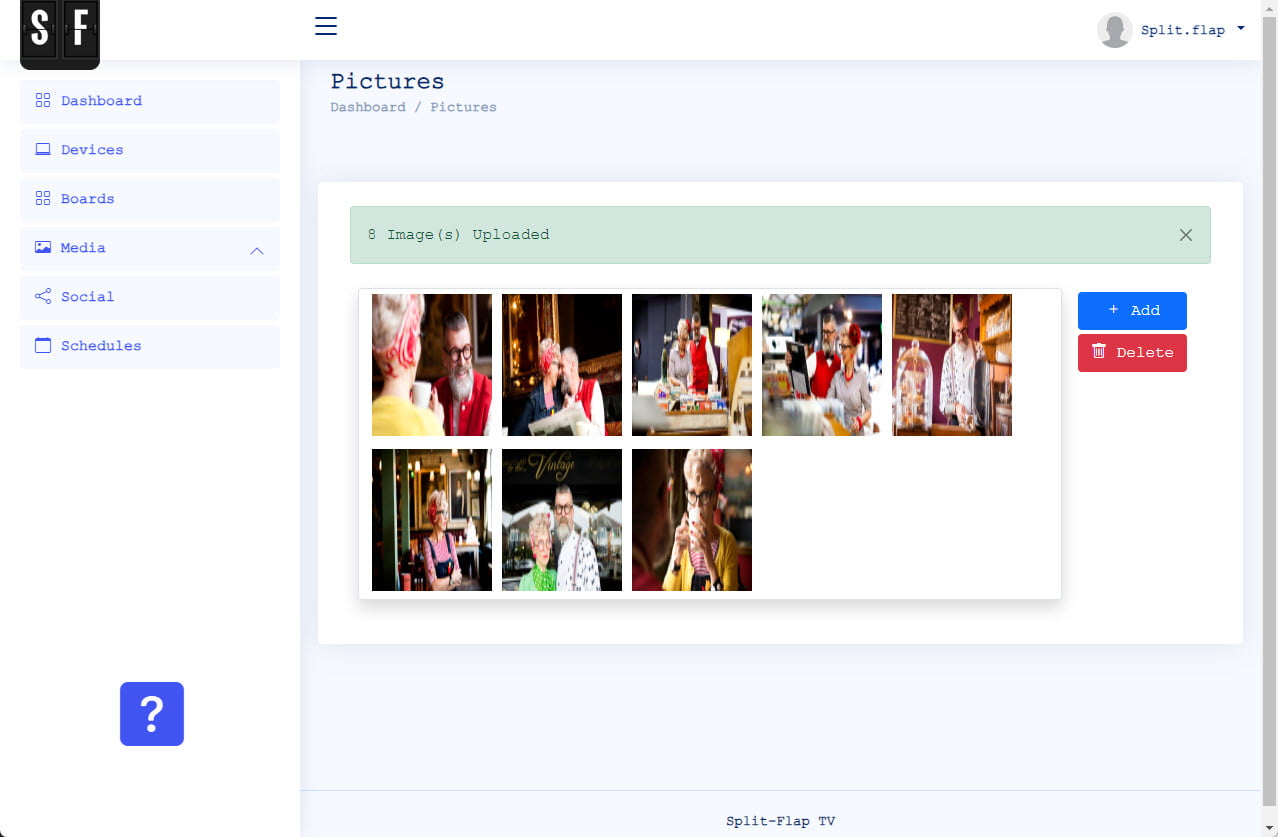
All pictures will be uploaded to your account and will then be visible here. You can add more pictures, or delete some here too.
Open Boards
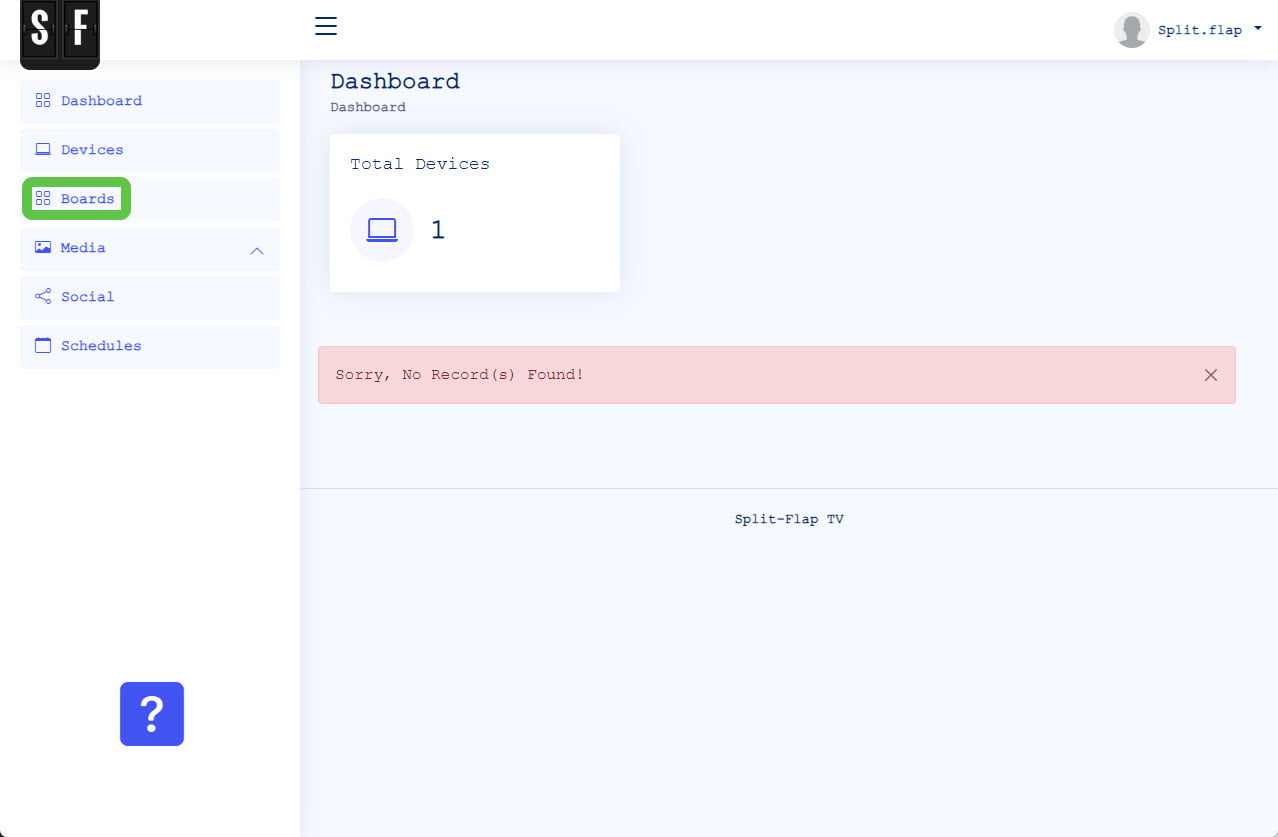
Now that we have uploaded the pictures for the board, we can click the Boards option from at your dashboard’s menu.
Add a New Picture Board
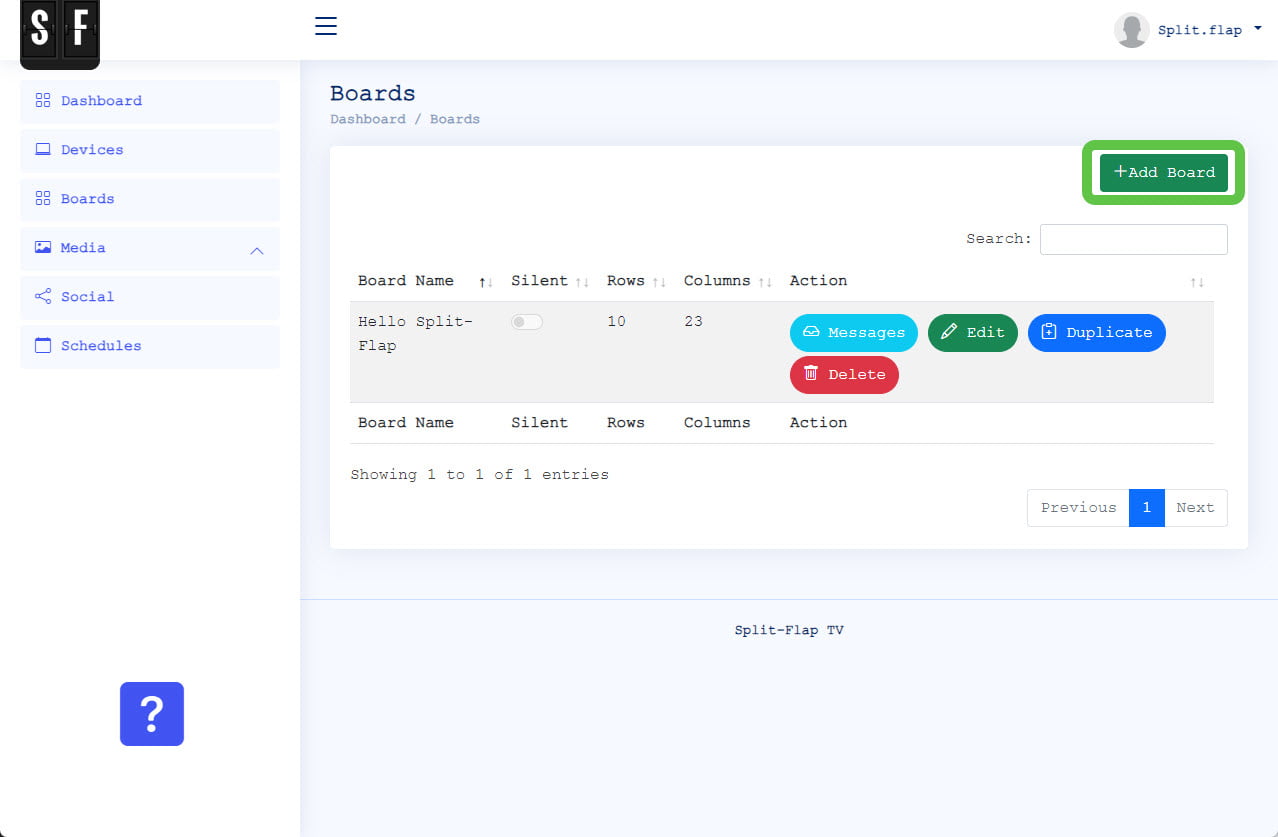
On this form, you will find a list of all your boards. There is already a default text board created for you. Click the Add Board button to set up your first picture board.
Type of Board
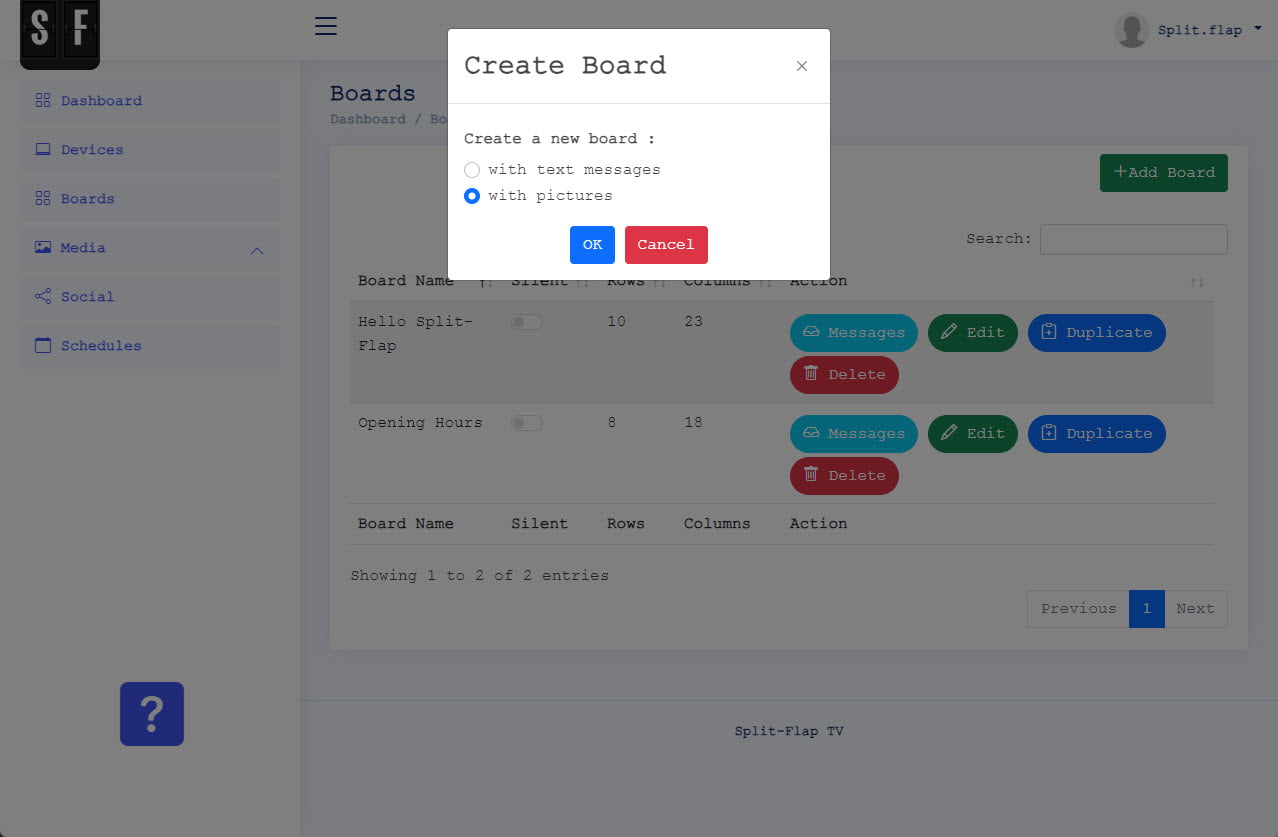
Choose whether you want to create a board with text messages or with pictures. On this page we will create a board with pictures only. So choose the first option ‘with pictures’ and click the OK button.
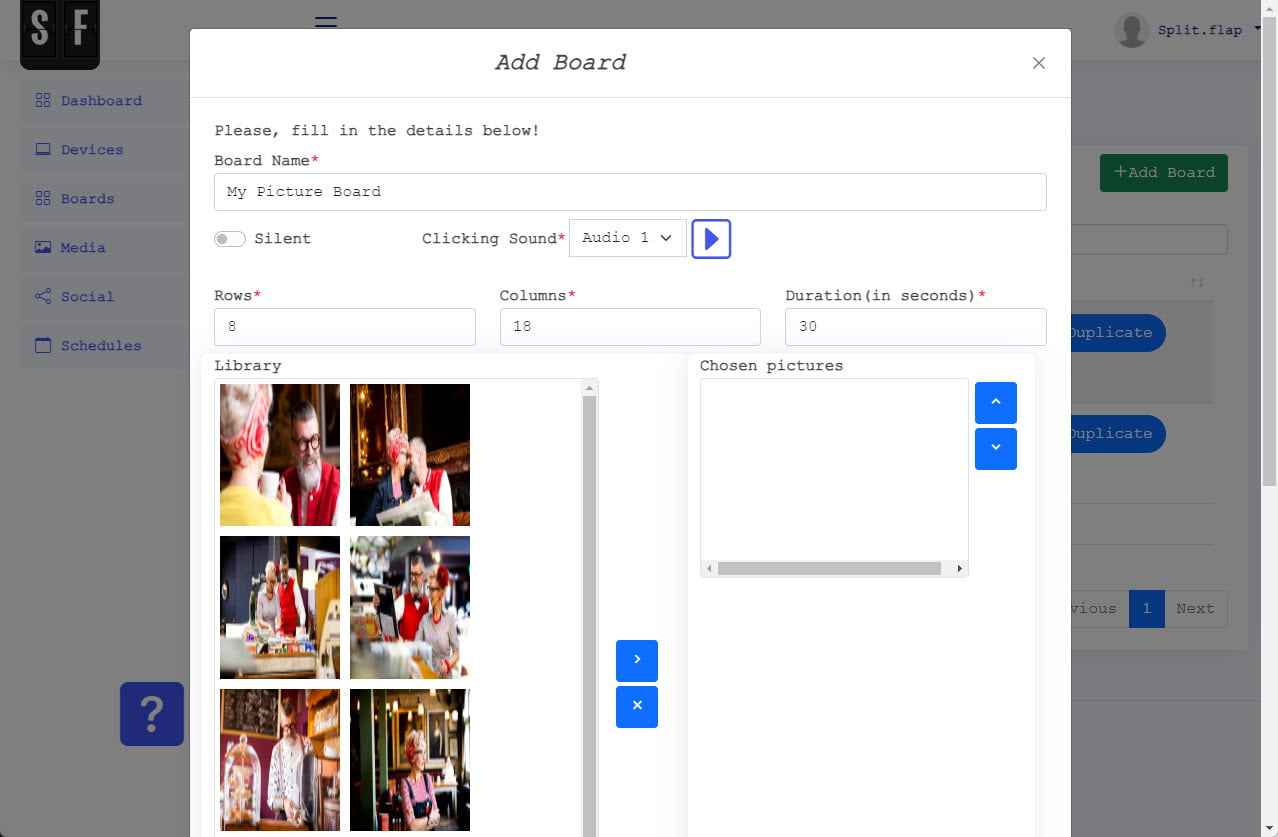
Set a board name here first and choose if you want to use clicking sound or not. When you enable the clicking option, then you can choose 1 of the 3 audio variations.
Also choose how many rows and columns you want to use on this board (how many frames you want to have displayed over your pictures) and set how long a picture should be shown in seconds before advancing to the next picture.
Then select a picture from the available pictures from your media library. Select the picture and click the > button to add it to the Chosen pictures group. Repeat this step to include all the images that you want to use on this board. In case that you want to delete a chosen picture from the list, then select the picture on the right and click the x button. Optionally you can reorder the pictures in the list with the up and down controls.
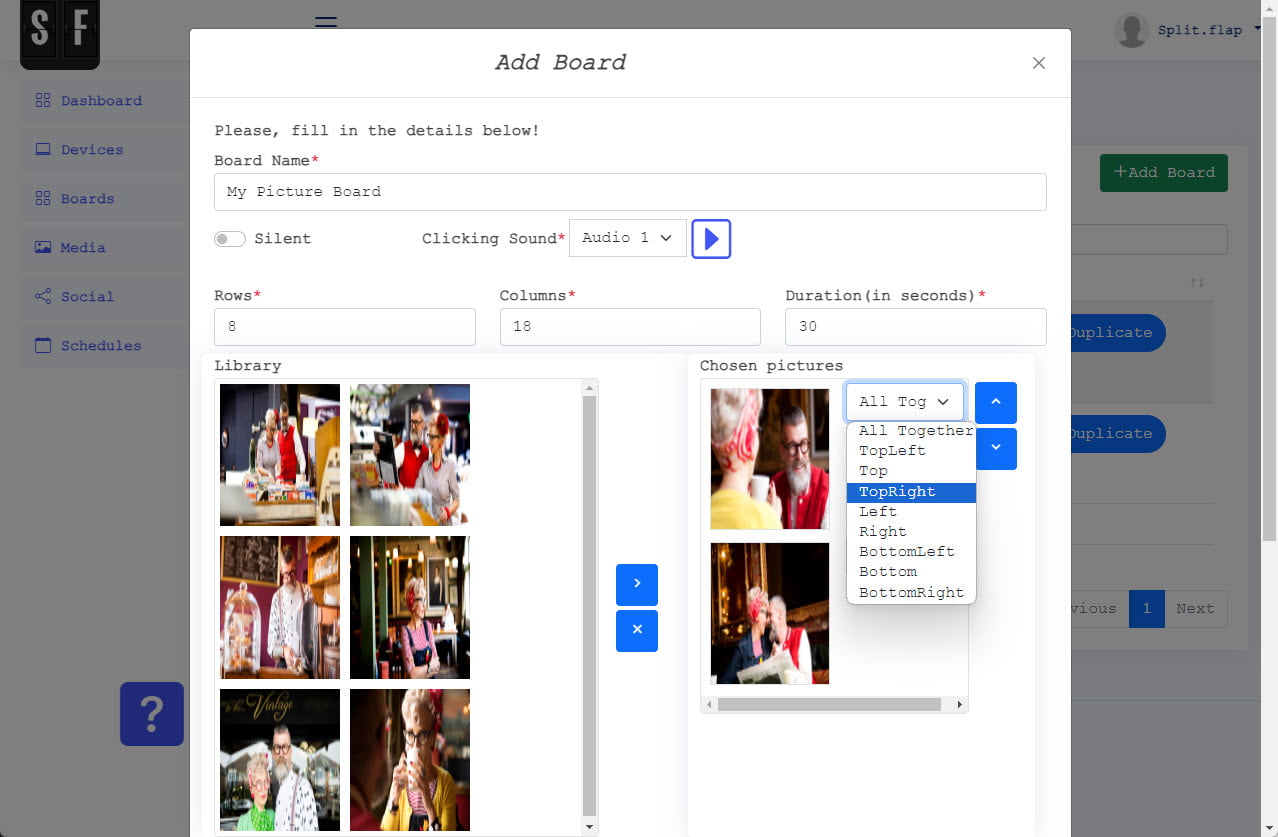
You can also set a transition per image. The transition applies to the flipping direction when moving to the next picture.
Can you choose between:
- All together: all flaps animate together
- Top left: transition of the flaps from the top left corner to the bottom right corner.
- Top: transitioning from the first row of flaps towards the bottom.
- and so on.
Overlay Image
The option to use an overlay image will be explained on another dedicated page for this feature.
Board Ready
Our board is ready now and can be scheduled for playback on any of your Split-Flap TV devices.
